Installing a lift kit on your truck is an exciting project that can enhance both the look and off-road capabilities of your vehicle. However, it requires careful planning, the right tools, and knowledge about your truck's suspension system. While a lift kit installation may seem straightforward, it involves several steps that, if not followed correctly, can affect the handling, safety, and performance of your vehicle. In this guide, we'll walk through the essential considerations and general steps to take when installing a lift kit, while ensuring your installation is safe and effective.
Preparing for Installation
Before diving into the installation process, proper preparation is crucial to ensure everything runs smoothly. The first step is to understand what type of lift kit is suitable for your truck, gather the necessary tools, and consider the overall cost involved in the installation.
Choosing the Right Lift Kit for Your Truck
Not all lift kits are compatible with every truck, so it’s important to ensure you choose one that fits your specific make, model, and year. A lift kit for a Ford F-150 may not be suitable for a Jeep Wrangler, and the installation process can vary depending on your vehicle’s suspension type (solid axle vs. independent). Lift kits generally come in different sizes, ranging from 2-inch lifts to 6 inches or more, each designed to cater to different performance needs, from mild off-road driving to extreme terrain challenges. Make sure to research which lift kit is appropriate for your driving style and the specific conditions you'll be tackling.
- Gathering Necessary Tools
- Installing a lift kit requires a variety of tools, including some specialized equipment to ensure the process goes smoothly. Here’s a list of essential tools you’ll need:
- Floor jack and jack stands: To safely lift and support your truck during installation.
- Torque wrenches: For properly tightening bolts to manufacturer specifications.
- Socket set and wrenches: To remove and reinstall various components of your suspension.
- Spring compressors: If you're installing coilover shocks or new springs, this tool helps safely compress the springs for installation.
- Service manual: This is crucial for your truck’s specific torque settings and assembly sequence.
Cost Breakdown
Installing a lift kit involves more than just the kit itself. You’ll also need to account for any additional parts and tools that may be required, such as new shocks, control arms, or brake line extensions. The cost of a lift kit can vary significantly based on the type of kit (body lift vs. suspension lift), the size of the lift, and the make of your truck. A basic body lift may cost as little as $300-$500, while a more complex suspension lift could run upwards of $2,000-$3,000. In addition, factor in the cost of any new tools, professional alignment post-installation, and possible labor costs if you opt for professional help.
Step-by-Step Installation Guide
Installing a lift kit typically involves several key steps that vary depending on your truck's suspension system. While the specifics can differ by make and model, the general process remains similar across most installations.
Vehicle Preparation
Before you begin installing your lift kit, it's essential to properly prepare your vehicle. Start by parking on a level surface and ensuring the vehicle is in gear with the parking brake engaged. Jack up the truck using the floor jack, and securely place it on jack stands, ensuring the vehicle is stable before proceeding. After lifting, remove the wheels to expose the suspension components you'll be working on. Inspect the suspension for any pre-existing damage or worn parts that might need replacement during the installation process.
Installing the Lift Kit Components
Once your vehicle is securely lifted and the wheels are off, you can start installing the lift kit. This typically involves:
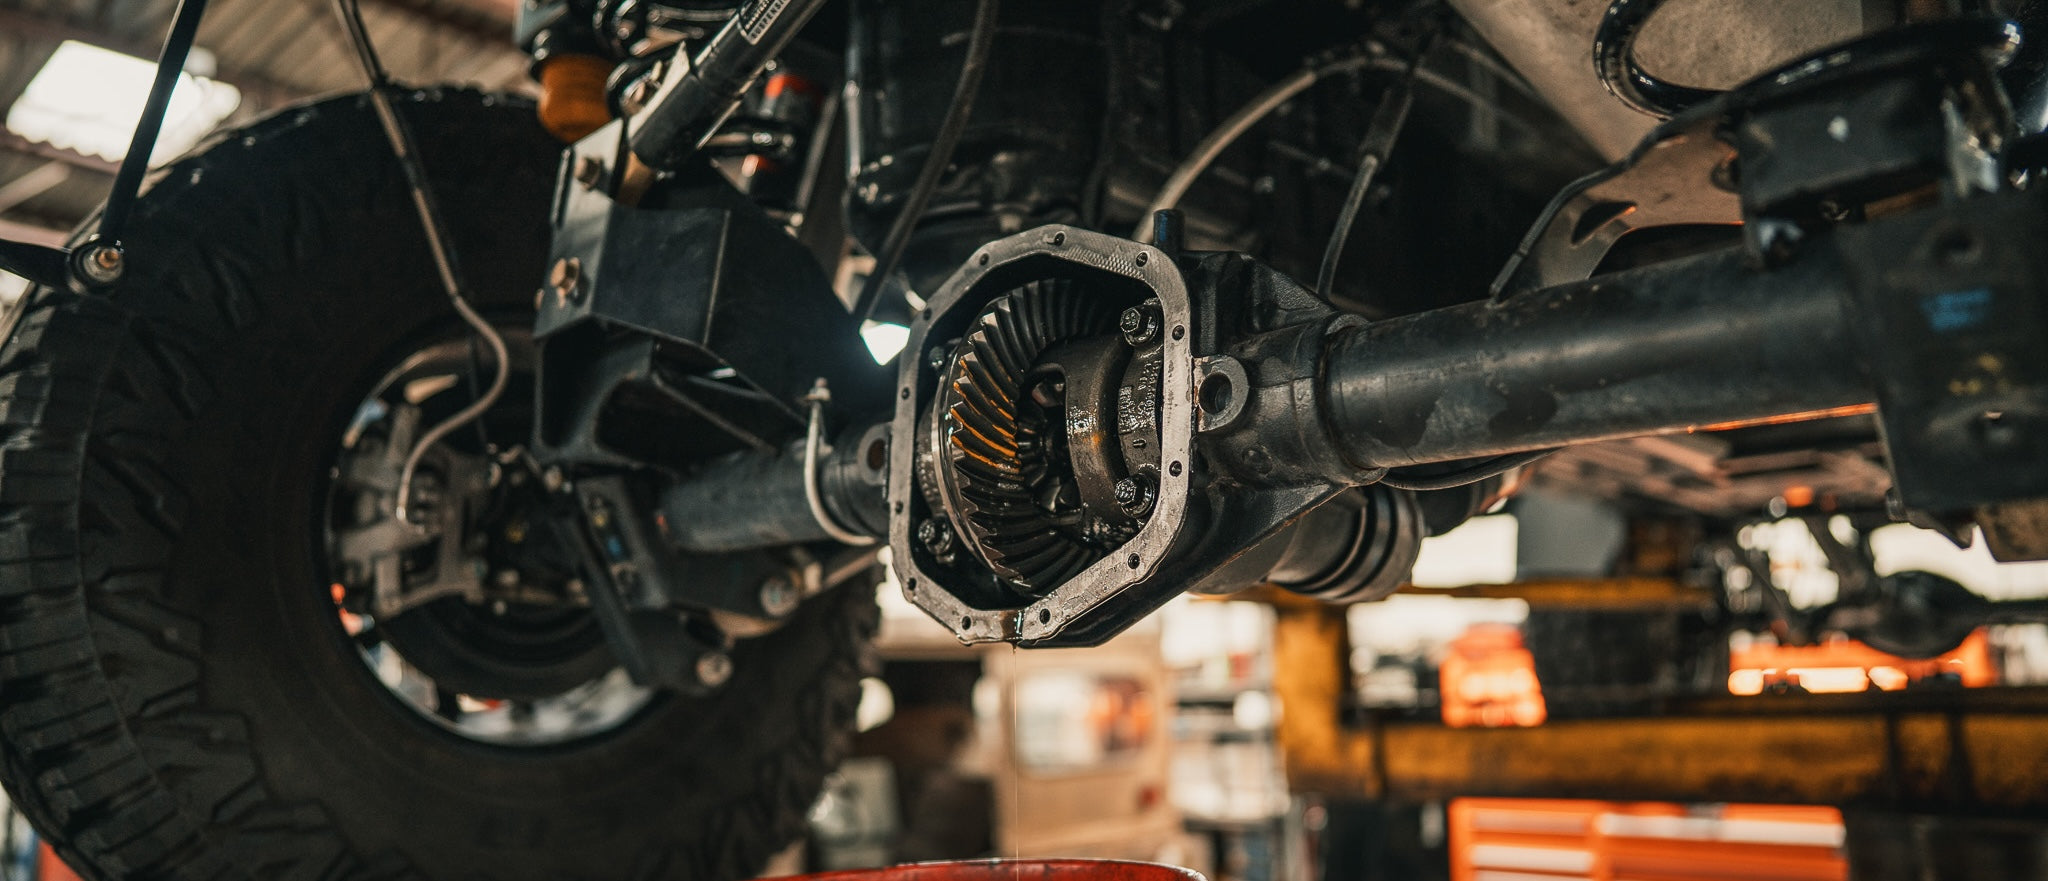
- Spacers or brackets: For body lift kits, spacers are added between the truck’s body and frame. For suspension lifts, brackets may be installed to lower suspension components, such as the differential or control arms.
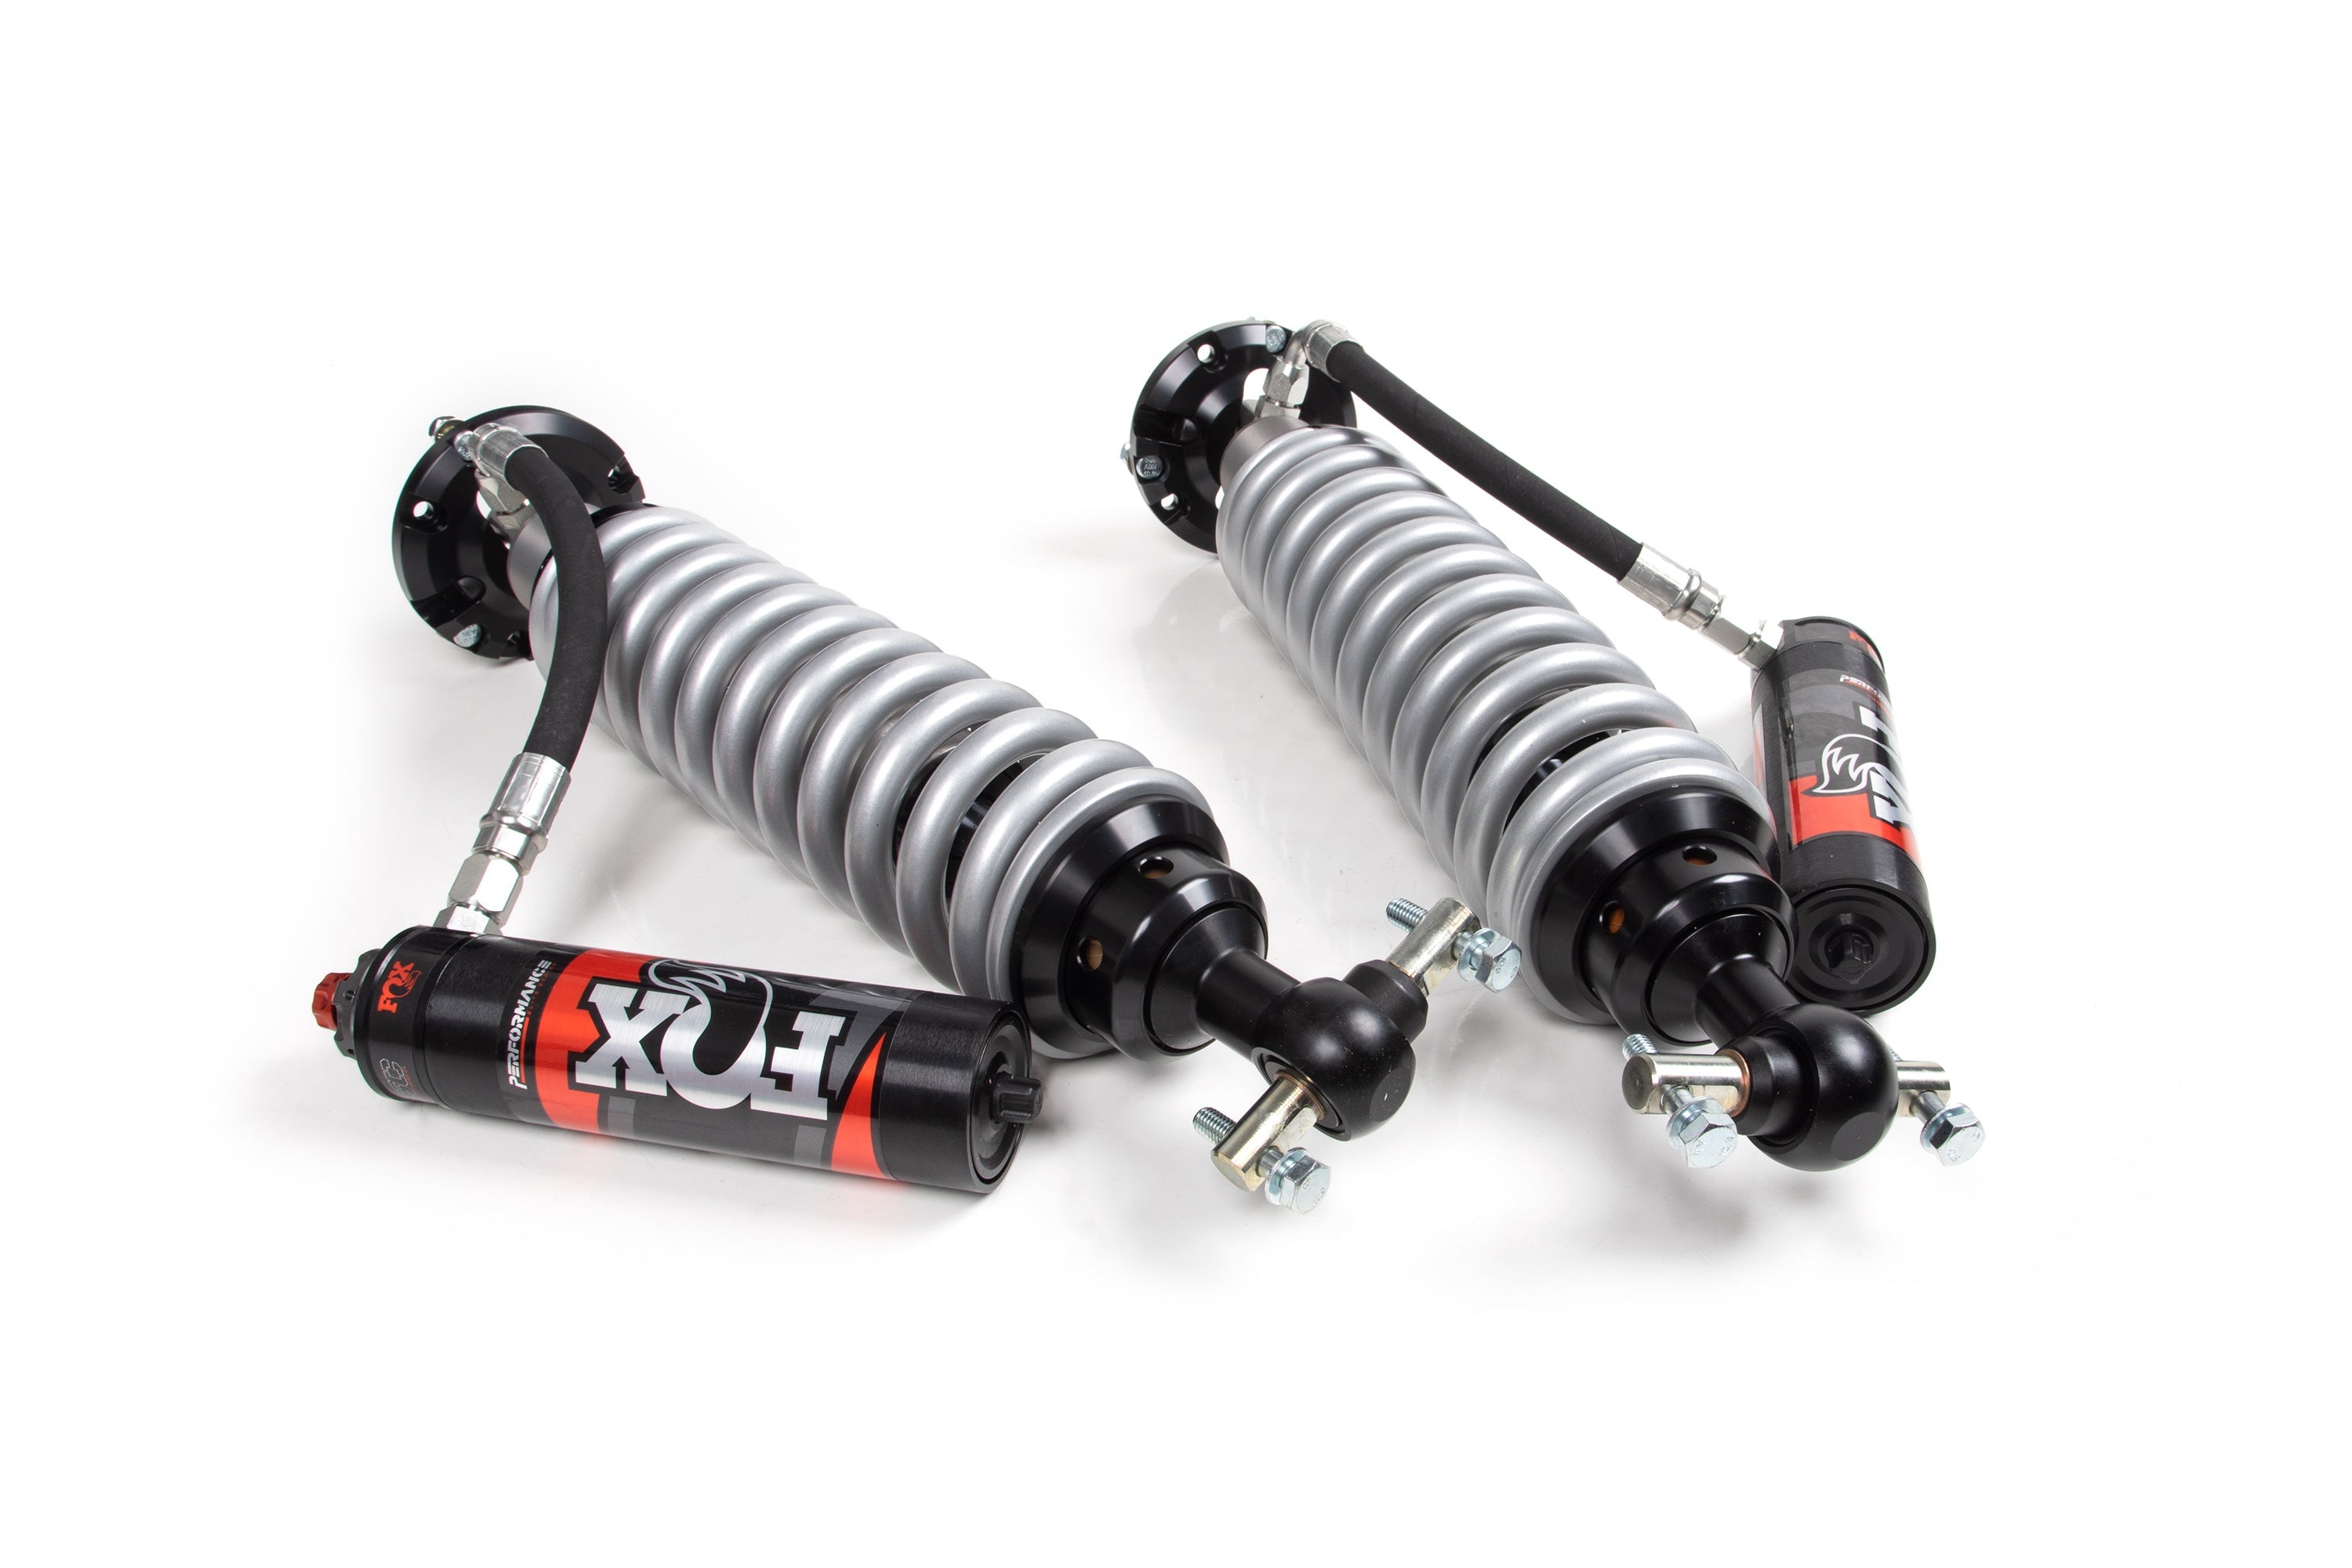
- New shocks and springs: If your kit comes with new shocks or springs, these will need to be installed after removing the factory components. For coilovers or taller springs, use a spring compressor to safely compress and install the new springs.
- Brake line extensions: Depending on your lift height, you may need to extend the brake lines to accommodate the increased distance between the frame and the wheels.
Reassembly and Final Adjustments
After installing the lift kit components, reassemble the suspension by reinstalling the wheels and tightening all bolts according to the manufacturer’s torque specifications. It’s crucial to double-check the alignment of the suspension components to ensure proper function. Once everything is installed, lower the truck back onto the ground and perform any final adjustments, such as adjusting the alignment of control arms or fine-tuning the coilover height if your lift kit includes adjustable components.
Post-Installation Considerations
Installing a lift kit is only part of the process—there are several important post-installation steps to ensure your vehicle is safe and ready for the road.
Safety Checks
After the installation, thoroughly inspect every component to ensure it’s securely fastened and properly aligned. Pay close attention to the torque settings on bolts, as improperly tightened bolts can lead to suspension failure. Additionally, make sure the brake lines, shocks, and control arms are positioned correctly and free of any obstruction that might interfere with the vehicle’s performance.
Lift Kit Safety Tips
Driving a lifted truck comes with new challenges. After installation, the center of gravity of your vehicle is higher, making it more prone to tipping over in sharp turns or steep angles. Be mindful of this and practice defensive driving, especially when navigating rough or uneven terrain. Also, keep an eye out for signs of "death wobble," a common issue with lifted vehicles where the steering wheel shakes violently due to improper suspension geometry or loose components.
Alignment and Tuning
One of the most critical post-installation tasks is getting a professional alignment. A lift kit changes the suspension geometry, which can cause steering issues and uneven tire wear if the wheels are not aligned correctly. Getting an alignment ensures that the camber, caster, and toe settings are restored to the proper specifications, preventing premature tire wear and improving vehicle handling.
Installing a lift kit on your truck can enhance its off-road capabilities, giving you greater ground clearance and improved performance on rugged terrain. However, it’s important to prepare thoroughly, follow the installation steps carefully, and prioritize safety throughout the process. Whether you choose to install the lift kit yourself or seek professional assistance, understanding the components and steps involved ensures that you’ll enjoy a smoother, safer off-road experience. At Fat Bob’s Garage, we provide all the tools, kits, and advice you need to elevate your truck, making sure you're ready for your next adventure.
